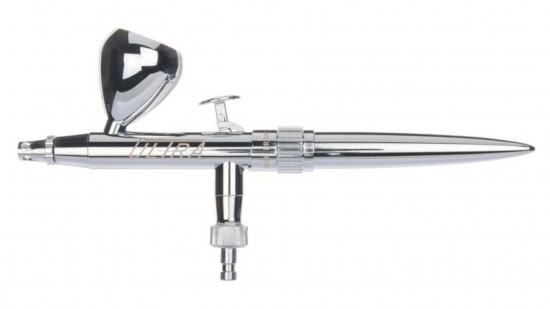
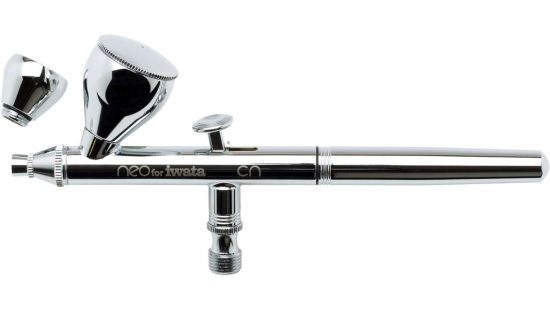
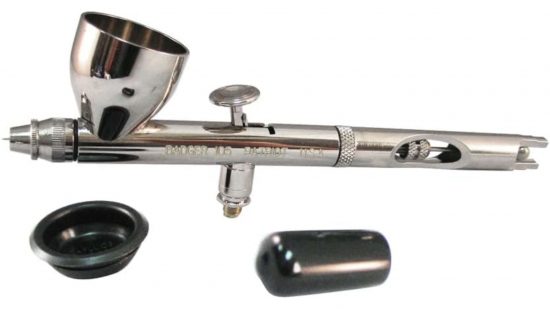
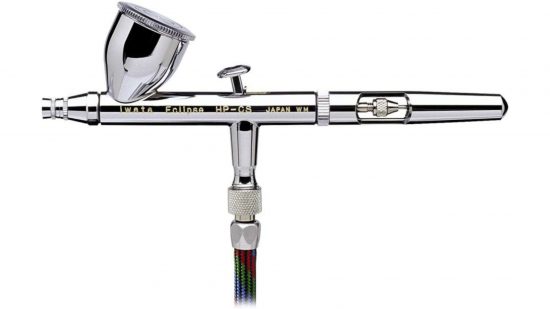
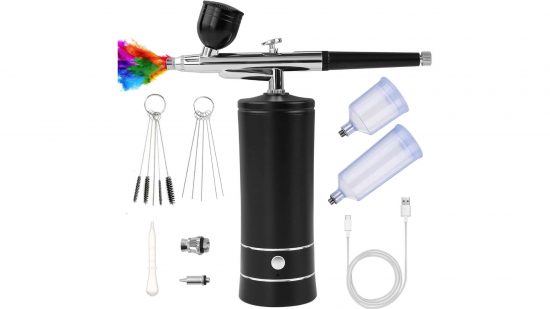
Airbrushes are one of the most effective tools in the miniature painter’s arsenal, an investment that will speed up base coating and unlock unique techniques using masks and glazes. This expert guide will help you to pick the best airbrush for miniatures, whether you’re a beginner miniature painter or already an expert, and explains the key factors for getting the most from an airbrush.
Wargamer has separate guides to painting miniatures with a paintbrush and the best miniatures paintbrushes, and recommendations for ideal paints for miniatures.
Is it worth it to buy a cheap airbrush for miniatures?
It is not usually worth it to buy a cheap airbrush for miniatures. Airbrushes are very finely manufactured mechanical tools. Cheap components or lower manufacturing standards will result in poor or unreliable results, and a brush that rapidly degrades as the cheap coating breaks off and internal seals break down.
Airbrushes that cost under $100 tend to use cheaper screw-in nozzles, rather than precision made floating nozzles. These are much, much harder to remove than floating nozzles, which makes cleaning the airbrush vastly more difficult – and you will spend a lot of time cleaning your airbrush.
However, a very cheap airbrush may be useful to test whether or not you are interested in airbrushing. If you airbrush a lot and want a dedicated brush for priming, a brush with a single-action trigger will do the job just fine, and usually costs less than a double-action brush from the same manufacturer.
What pressure PSI should I use for airbrush miniature painting
The airbrush pressure you need for painting miniatures depends on the thickness of paint you are using. In general, 15-45 PSI is suitable, with 30 PSI a good middle ground.
Higher pressures can push thicker paint through the brush, which is useful for base coating and large scale jobs like vehicle painting. However, holding the airbrush close to the miniature at this pressure will result in the air blasting the wet paint out of position, resulting in uneven coverage.
At lower pressures you can use the airbrush as a fine detail tool, as you will be able to produce a narrow spray pattern and very gentle intensity, while holding the brush very close. You must use suitably thinned paint at low pressure, or the brush is likely to clog.
What is a gravity-fed airbrush?
Gravity-fed airbrushes store paint on top of the airbrush, and it feeds into the paint-and-air mixing chamber under the force of gravity. It’s easy to use small volumes of paint and to change paints in a gravity-fed airbrush.
The main alternative is siphon-fed airbrushes. These have a screw-on paint bottle alongside or below the airbrush. This is very useful when you want to hold a lot of paint of a single color, but it makes changing colors very difficult.
What is an internal-mix airbrush?
In an internal-mix airbrush, the paint and air supply mix inside the brush. When everything is set up right, this thoroughly and uniformly aerosolizes the paint. An internal mixing chamber can also spray at extremely low air pressure, allowing for very fine detail spraying.
External-mix airbrushes only work at sufficiently high air pressure for the vacuum effect to suck paint out of the paint reservoir after the air has left the brush. Because the paint is never inside the brush, these brushes are easier to keep clean.
What is the difference between a double action and single action airbrush?
The trigger on a ‘double-action’ airbrush trigger controls two factors:
- How much air flows through the brush, which allows the brush produce fainter or stronger paint coverage;
- How far the needle is withdrawn from the nozzle – effectively, how open the brush aperture become. The more the needle withdraws, the wider the spray pattern.
Single-action airbrushes do not have control over air flow. On many models this can be set by adjusting a dial on the brush between uses. This is useful if you want to use the brush at one specific intensity setting for a long period, but not if you want dynamic control over the spray intensity.
What diameter needle is best for airbrushing miniatures?
The width of a needle dictates how fine a line the airbrush can produce, so the diameter needle you need depends on the task you are attempting. A 0.7mm needle is fine for all basecoats. 0.5mm is suitable for most detail jobs.
A 0.3mm needle may be useful for extremely fine detail work, but you will need to have mastered your brush, and have it in top working order, to realise its potential. While the Harder and Steenbeck Infinity can produce needle-fine lines, so can a size 00 miniature paintbrush, and you have greater tactile control over a physical brush.
How to prevent airbrush clogs
Airbrush clogs are caused by paint curing inside the brush. This can even happen while you are spraying, causing the airbrush function to deteriorate. The problem is worse in arid conditions, which will evaporate the water from acrylic paints and cause it to cure quicker.
Ensure that paint is thoroughly mixed before use. Paint that hasn’t been used for some time may contain dried paint fragments. If you are using dropper bottle paints you can remove the dropper nozzle, then cover the neck of the bottle with a gauze fabric (old stockings work well), and reinsert the dropper nozzle to create a filter.
When spraying, dried pigment will form on the outside of the brush tip, which you should clean off regularly. A sponge soaked in airbrush cleaner solvent or isopropyl alcohol can act as a cleaning station for you to gently dip your brush tip into, with the needle retracted to prevent damage.
As soon as you are finished with a color, unload the paint reservoir, then wash out the reservoir and nozzle. Wash out the paint reservoir with water. Then fire water through the airbrush (ideally into a catch pot) until it is more or less clean, followed by airbrush cleaner.
You will need to clean your brush thoroughly after each painting session.
How do you clean an airbrush?
Cleaning an airbrush is essential to keeping it operating well. You will need to do periodic deep cleans of an airbrush, or send it to a specialist to be serviced, but you can minimise this by giving it partial cleans mid-session, as detailed above.
Most paints can be removed with airbrush cleaner, or isopropyl alcohol. At the end of each painting session, remove the needle from the brush and clean it carefully with a fibreless cloth. Clean the airbrush nozzle and clean using a nozzle reamer and some very fine scale scouring brushes. You should also clean the nozzle cap and the passage between the nozzle and the paint reservoir using pipe cleaners.
If necessary, you may need to disassemble your brush and soak it in a cleaning solution. A hypersonic bath is a good way to speed up this process – you’ll find one in our guide to the best hobby tools for Warhamer.

Just ordered your new airbrush and want some ideas about things to test it on? If you want to push yourself with really fine detail work, DnD miniatures are extra small. Or read up on Warhammer Titans, the biggest canvas a miniature painter could ever ask for.
Source: Wargamer


