As 3D printing gets cheaper, more reliable, and more accessible, more and more tabletop gamers want to learn how to 3D print miniatures – whether it’s to represent their beloved DnD character on the table, create awesome terrain, or supplement their wargaming armies at low cost. This guide explains the basics of how 3D printing works, the stats to be aware of, and how to get started.
3D printing technology is moving very quickly these days, and ever more tabletop gamers are unlocking the power to print their own game components, accessories for their best board games, low cost miniature wargame terrain, and, well, you know, anything they want.
But, while it’s easier and cheaper than ever to start 3D printing miniatures in 2023 – it’s still not actually easy. There are a lot of technical factors to consider; a lot of things can – and will – go wrong with your prints; and, while the best 3D printers handle a lot of the number-crunching for you nowadays, there’s still a fair amount of important nerdy stuff to get your head around in order to get the best results.
Before splashing out on a 3D printer, best read our brief crash course so you at least know what you’re getting into!
Types of 3D printer
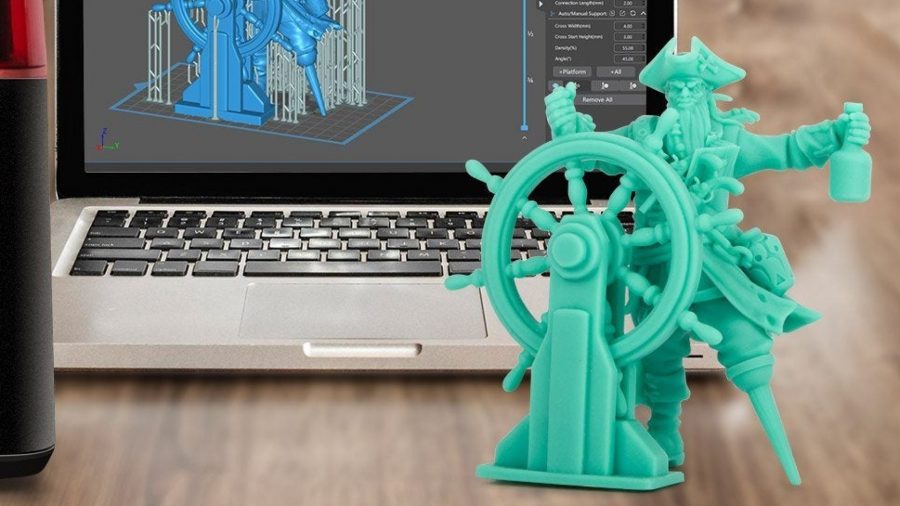
There are essentially two types of 3D printer to be aware of. Fused Deposition Modelling (FDM) printers – which place down layer after layer of melted plastic – and Stereolithography (SLA) printers, which use UV light to harden a liquid resin that forms the desired shape.
In short: resin or plastic. There’s a ton of subcategories, and a jugful of jargon to go with them, but there’s no need to get too far into the boring stuff now: it basically boils down to resin vs thermoplastics.
FDM plastic 3D printers
There are advantages and disadvantages to each kind, but – crucially – FDM printers (using plastics) are, as a rule, not precise enough to produce detailed miniatures.
They’re perfectly good – in fact we recommend them – for creating large-scale terrain pieces; but, for smaller models, you won’t be able to get the results you’re after. Layer lines will typically be visible, while fine details are likely to be lost.
Resin 3D printers
Resin 3D printers have their own pitfalls, too. Firstly, resin is toxic, so, while all 3D printing demands a well-ventilated space, with SLA you have to be particularly careful; basic safety precautions like gloves and masks are a must. Another thing to know is that, partly because of the extra detail it enables, SLA printing tends to take longer than FDM.
And finally, printer resin costs more than plastic filament, so your operating costs are likely to be higher. But all this is the price you’ll pay if you want a 3D printer that creates miniatures of the highest quality (and without any misshapen features or unwanted ridges).
Key 3D printer features
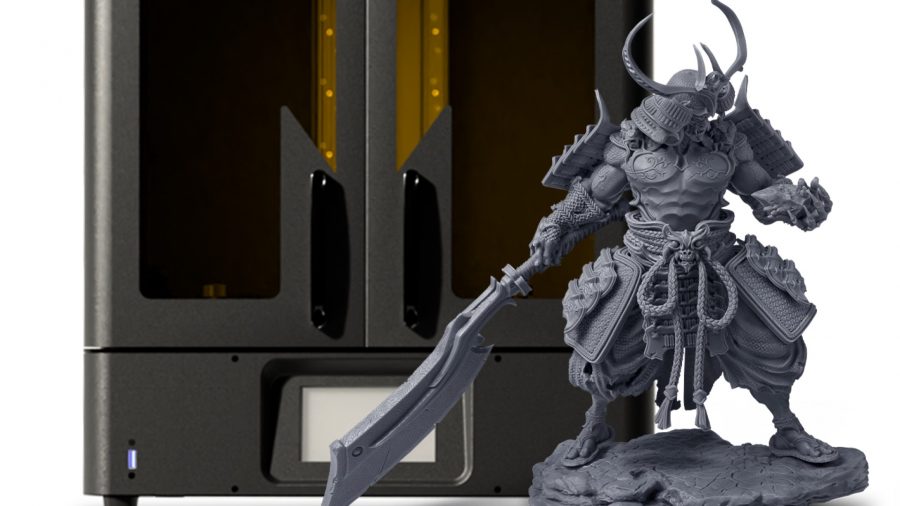
These days, every gadget – from TVs, to cameras, to (now) 3D printers – wants to boast about its super-duper, extra-special ‘high resolution’. But it’s not always clear what that actually means in real terms.
XY resolution
In 3D printing, the key value to look for is the XY resolution, measured in microns. This tells you the smallest possible motion the machine’s print head can make within a single layer. Another key figure, the Z resolution, determines how thin each layer can be.
For both XY and Z, smaller is better. To achieve quality miniatures for the tabletop, resolutions of 50 microns or less are excellent, though they don’t necessarily guarantee quality results – particularly if the printer only has a high resolution in one direction.
Build volume
Another stat to check is the build volume. If the resolution is how small and detailed your models can get, the build volume is the opposite – how large you can go.
It’s best to think ahead and be realistic about what you’ll use your 3D printer for. How mini are your minis? Will you be able to restrict yourself to 28mm scale humanoids, or will you quickly be hankering for an enormous demon figure and then a ruined castle turret for him to live in? You might be able to create large models by approaching them in multiple stages, but a good build volume will save you the trouble.
Ease of use
The final quality to watch out for is ease of use. You’re probably aware that owning and operating a 3D printer can be a fiddly business, but you may not know that it’s getting easier with each new release.
Before you pick a printer, do some research on how much setup and maintenance is likely to be required. It also helps if there is an active community around your chosen machine, as this makes it far easier to troubleshoot and get help when necessary.
3D printing material
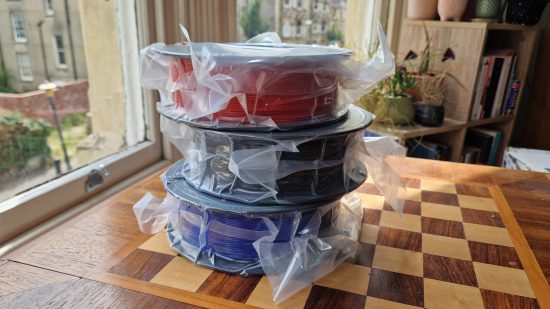
Chosen a printer? Now you need some 3D printing material for it to make stuff out of – either some plastic filament if you have an FDM printer, or some liquid resin if you have an SLA machine.
As with the other areas of 3D printing, you could be forgiven for being overwhelmed by the choices on offer here – whether you’re working with resin or plastic, there are dozens of different manufacturers and types of material to try, each with slightly different properties (and prices).
Luckily, most 3D printers will come with a small sample of filament or resin for you to try out your first prints, but this will run out pretty quickly. After that, you’ll need to restock – and these are the broad categories to look at.
FDM filament types
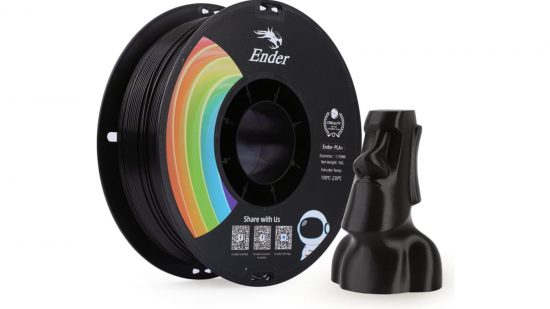
There are loads of different FDM filament types for 3D printing – we’ll be creating some more detailed guides to this, but for the moment, the main types are:
- PLA – Polylactic Acid
- ABS – Acrylonitrile Butadiene Styrene
- PETG – Polyethylene Terephthalate Glycol
- TPU – Thermoplastic Polyurethane
Here’s the good news: until you get deeper into 3D printing, you really don’t need to bother with ABS (which makes stronger, more smoothable models, but also produces toxic fumes so needs special ventilation); PETG (which is a less toxic variant, but needs high heat and careful settings to use safely); or TPU (which makes flexible, rubbery models, but only works well on the most expensive printers).
Just use PLA. It’s cheap, easy to use, non-toxic, doesn’t stink out your home when printing, and comes in all kinds of colors. Most 3D printer manufacturers sell their own brand of PLA that’s conditioned to work best with their hardware, so that’s the best place to start. Later on, you can experiment with different brands and varieties.
3D printing resin types
There are also zillions of different types and brands of 3D printing resin to choose from, but they fall into a few categories based on the types of miniatures they produce.
You need to be careful to ensure the type of resin you’re buying will work well with your printer (as older SLA printers perform best with only a few specific types). But most consumer-priced resin printers nowadays – like the Anycubic Photon Mono or ELEGOO Mars 3 – use the newer LCD technology, and can use a wider range of resin types, so we’ll explain them below.
Here, too, we’ll be going into much greater detail in later guides, but, for now, the main types are:
- Standard – all-purpose resin for visual models
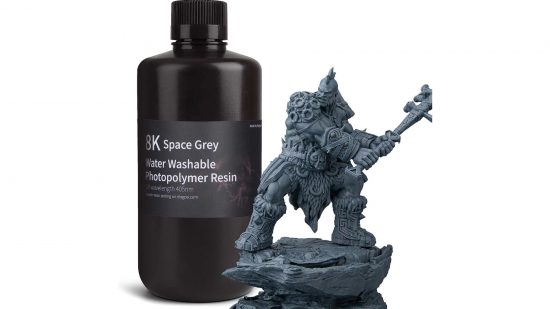
- Water-washable – excess resin can be washed off with water instead of alcohol
- Tough – what it says on the tin; these make more resilient models
- Draft / Rapid – optimised for quick prints, but can be brittle
- Flexible – for making flexible, rubbery models
Once again, if you’re a beginner, reach for the Standard resin. These aren’t made for any particular application, tend to be cheaper, and are suitable for most miniature 3D printing. You can also get ‘Eco’ variant resins from most manufacturers, which give off less unpleasant odor!
3D printing slicers
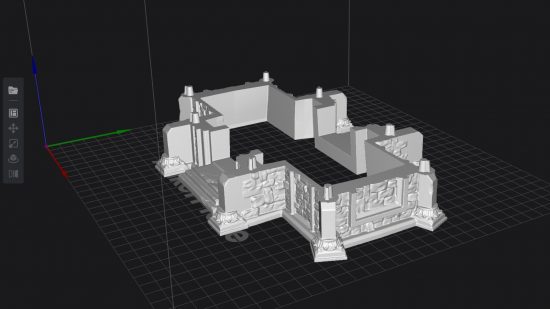
Once you’ve got a 3D printer and your print material (plastic filament or liquid resin), that’s the hardware covered. The other half of the equation is your software – the computer program that’ll convert a regular 3D imaging file into a printing plan your machine can understand – these are called 3D printing slicers.
The name comes from FDM printing, where the program’s job is to calculate how many layers of plastic it needs to lay down, where, in what order, and how quickly – before ‘slicing’ your 3D file into printable form. The name stuck, though, and is used for resin printing too.
They’re typically free (though some have paid options and features) and there are a few to choose from. When starting out, you likely won’t be tinkering too much with the more advanced settings and variables, so you can pretty much use whichever one you find easiest to get the hang of (YouTube tutorials are plentiful).
Three of the most popular free 3D printing slicers are:
Make sure that your printer is compatible with your chosen slicer. Some printers – like the AnkerMake M5 – come with their own custom slicer program and/or a partner smartphone app, but can be used with other programs if you prefer. The most popular programs work with almost all modern printers, but it pays to check.
Try a test print first
You’ve got a 3D printer, you’ve got your print material, and you’ve familiarised yourself with your slicer. Time to print some stuff!
Before you load up a 12-hour print for a big tabletop ruin or a massive battle tank – it’s best to get your printer ‘dialed in’ – meaning get all the basic settings in place and test it out on some benchmarking prints. This ensures there aren’t any factory defects in the machine, and gets it primed to do more prints.
With modern printers, these processes are almost all automated – for example, if you have an FDM printer, you’ll need to go through its bed-levelling program to make sure the print bed is perfectly flat, level, and calibrated ready to print. Just follow all the instructions in your printer’s manual for initial setup and dialing in.
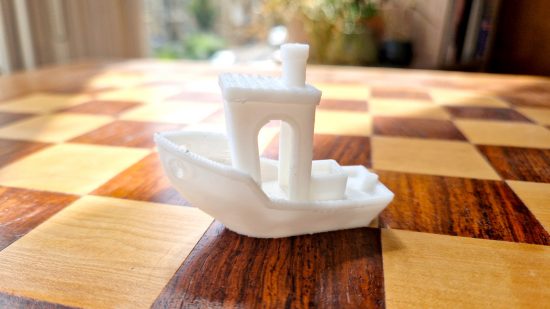
After that, try some test prints with benchmark designs – slicers come pre-loaded with a bunch of these, or you can easily download them free online from sites like Thingiverse; the classic ‘benchy’ boat in the picture above is ideal.
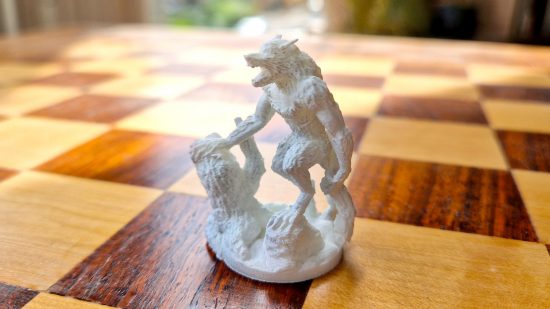
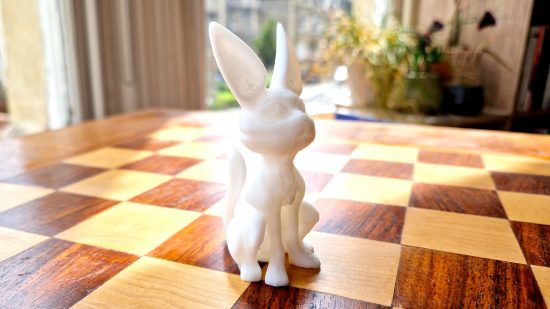
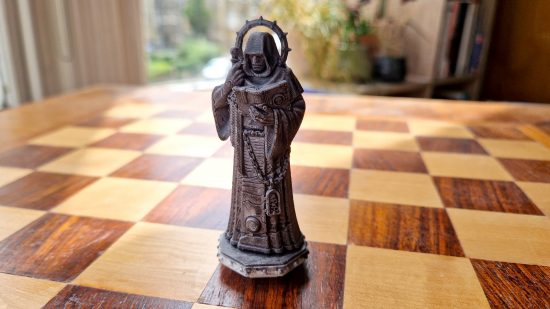
The adorable rabbit-cat thing below is pre-loaded in the Ankermake app that came with the Ankermake M5 test unit kindly provided us by Anker – we also used the M5 to create the other models you see pictured here on a chessboard.
Once you’ve tried out a couple of test models, the world’s your oyster! Grab yourself some good-looking STL files (ideally ones that other users have printed before on the same printer you have, with good results) and, well… 3D printer go brrrr!
We’ll be adding more 3D printing guides and tutorials on Wargamer that’ll go into more detail on special projects, advanced settings, and achieving faster or more detailed prints. But honestly, today’s printers automate so much of the real nitty gritty details that the above is really all you need to get started.
If you’re looking for inspiration (or games to play with your new minis) check out our guides to the best miniature wargames and the best DnD minis. For some zero-cost games to play with them, try our guide to free miniature wargame rules – or, if you wanna bring them to life, read our no-nonsense guides to painting miniatures and the best miniature paints.
Source: Wargamer


